|
|
|
Hella Retro-Fit washer system Installation
Author: Roger Moore
Date written: 17 Feb 2001
Note: You must have the European bumper to perform this procedure, the NA bumper will not accommodate the nozzles.
Tools and supplies needed for the job:
1) ¼" ratchet set
2) Phillips #2 screwdriver
3) Electric Drill with some smaller drill bits
4) T20 and T25 Torx screwdrivers
5) Black felt tip marker
6) Dremel tool, with cutting disc and rotary sander
7) Wire cutters
8) Clean container to hold at least 3 liters of fluid you may have to drain
9) Extension cord for Dremel and drill.
Parts needed:
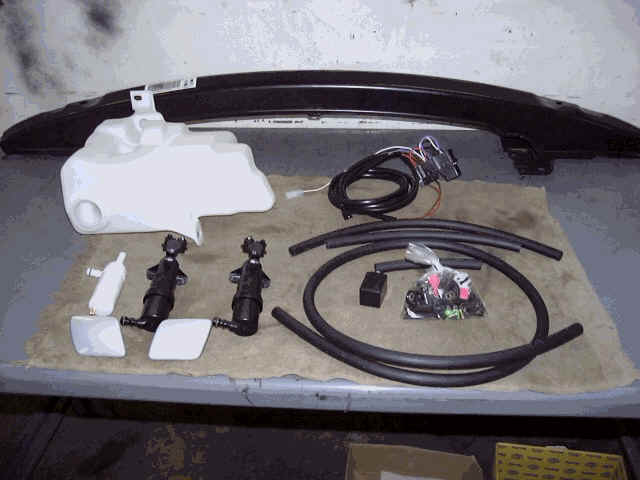
1) Hella retro-fit kit w/ instructions
2) Washer fluid
3) This procedure and instructions
4) Long Zip Ties
5) 3 1" screws and washers
6) 3" of thick rubber tubing
7) Silicone spray
Lets get started:
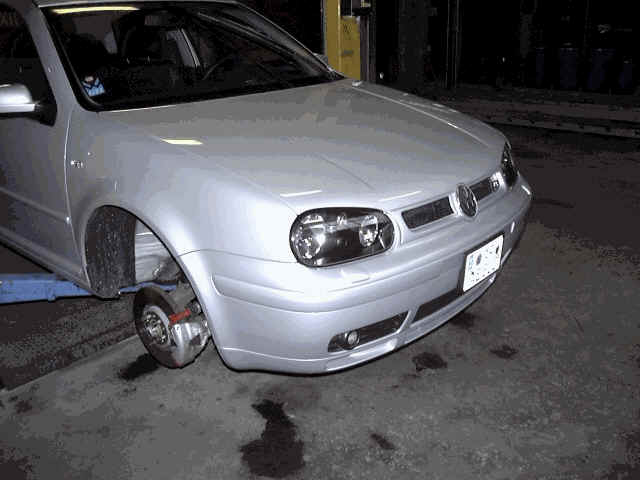
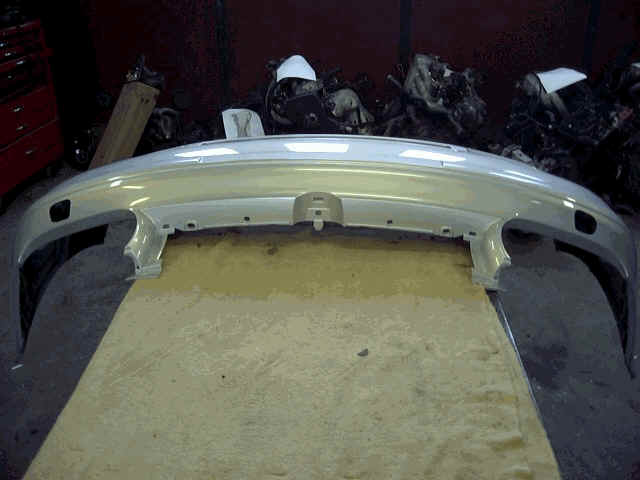
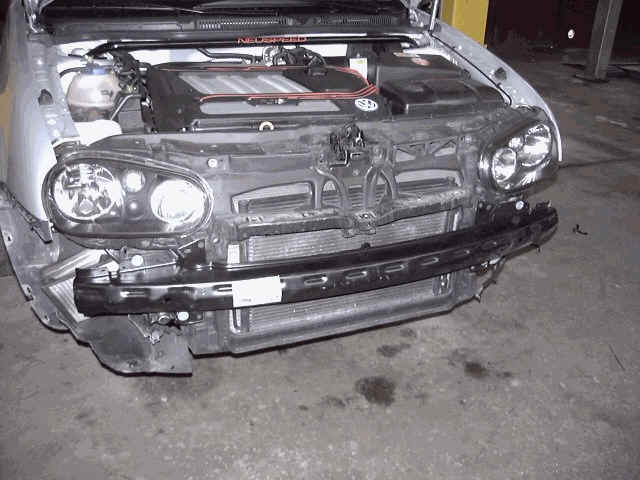
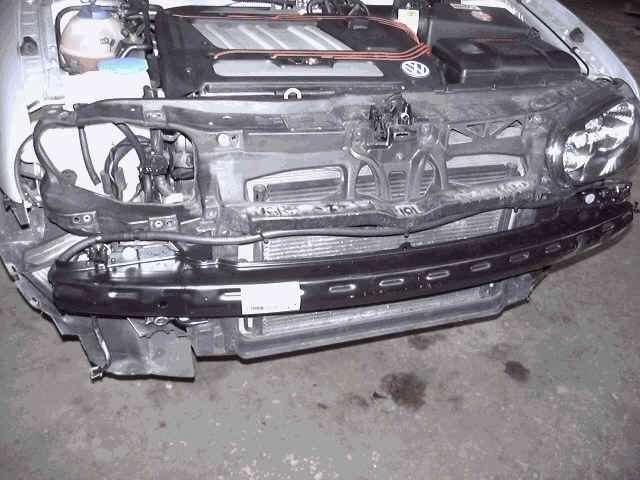
1) Remove the bumper see my bumper removal procedure to do this.
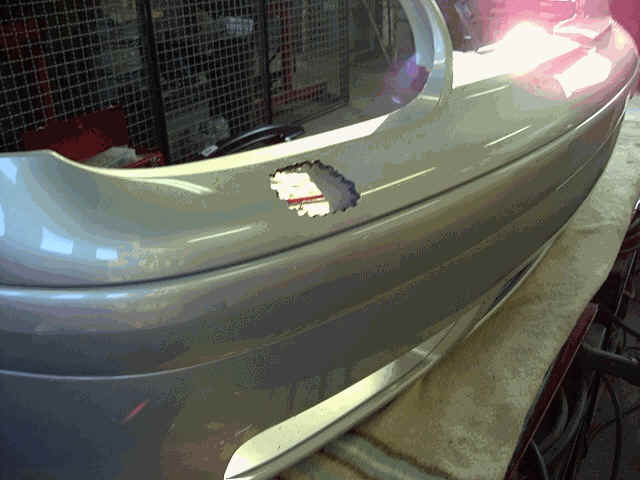
2) On the inside of the bumper you will see circular areas on each side of the bumper, feel inside these areas and you will detect small nipples that make a circular pattern, use your felt tip marker to connect the dots, this will be the template for the holes you are about to cut open.
3) Using a drill, make closely drilled holes all around the areas and be sure not to go pass the template.
4) Using the Dremel cut open the drilled out area. Use the Dremel rotary sander to smooth out the areas and make a good-looking opening.
5) Check the top plates for fit.
6) Siphon the fluid out of the 3-liter reservoir using the long supplied hole in the kit into your clean container.
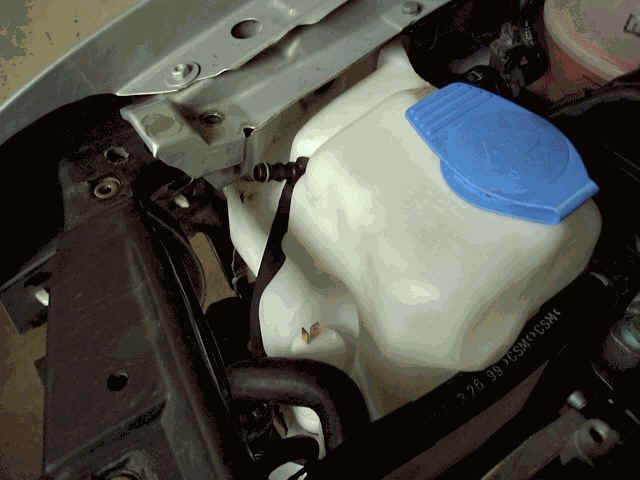
7) Remove the tank by loosening up 2 10mm nuts and one 10mm screw. Disconnect the pump wire and fluid level sensor wire.
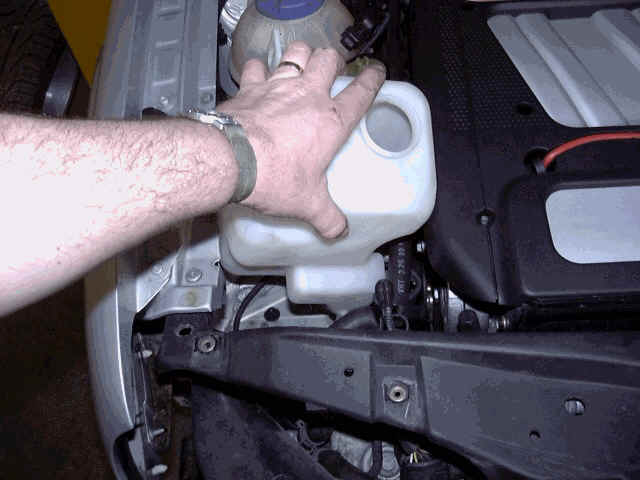
8) Prepare the new tank, install the filter in the neck and cap, install the washer pump with new grommet, install the old pump using old grommet, install the old level sensor using the old grommet. You may need to have the silicone handy here.
9) Install the fitting for the pump (white fitting); install the shortest tube to fitting and then the elbow (install the tube to the fittings first then connect it to the pump).
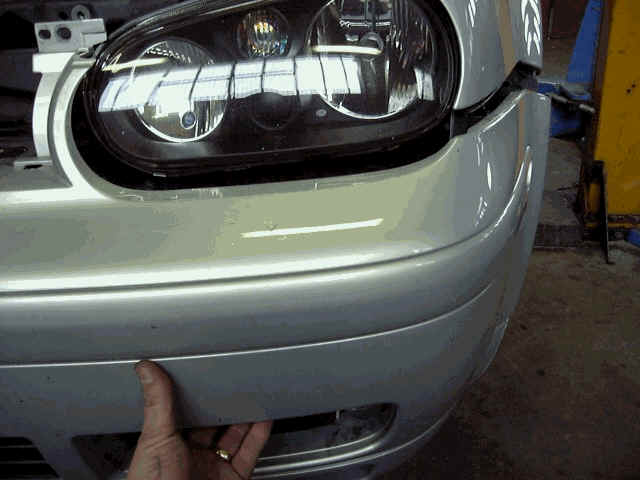
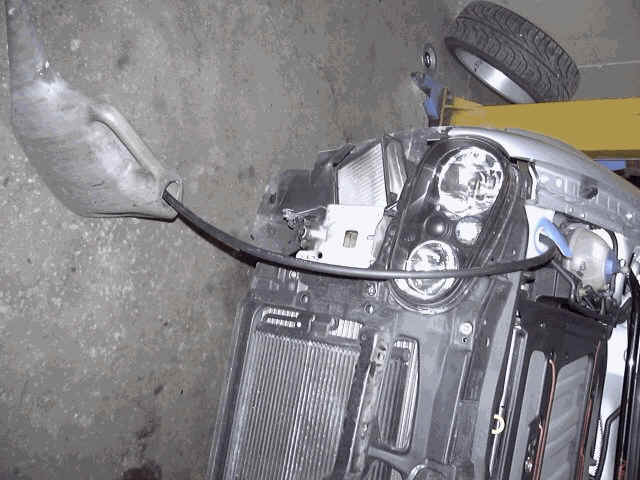
10) Remove the light housing on this side of the car.
11) This next step is what will take most of your time, Installation of the 5.5-liter tank; it took me about 30 mins to do. It was a serious PITA. I had to loosen up everything around the tank area and then also used a little strength to make it go into the right spot. The tank goes into the fender, so it is a very tight fit. Good luck.

12) Install the nozzles using supplied screws and washers, make sure you have them on the right side the angle should go with the side your on.
13) Install the rest of the plumbing lines as show in the instructions, make sure you run the line from the elbow through the ABS plastic hole below the light.
14) Fit light in area to make sure you have no clearance problems.
15) Zip tie the long tube to the ABS plastic using the longer zip ties I said you would need.
16) Next is the wiring, I located the Relay block close to where the instructions what you to mount but I think I did a better job. I used a little bit of thick rubber tubing to space out the relay block and mounted it right above the light housing. It is to the right of the light adjuster so no problems with light alignments in the future.
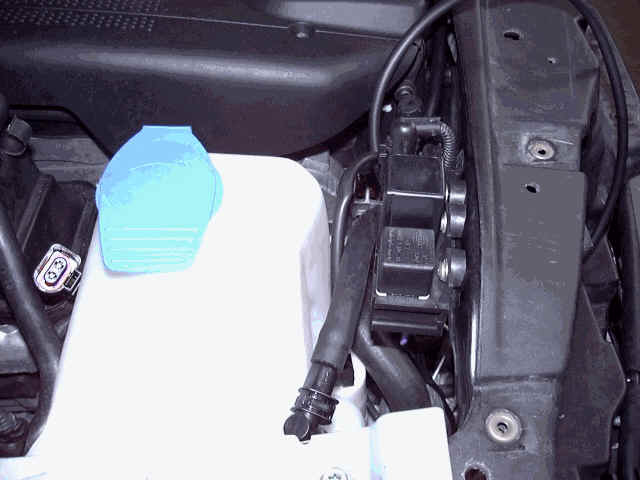
17) Run the battery wire along the back of radiator and zip tie them to the A/C line to keep away from the fan blades.
18) There is enough wire to go around the battery box and come thru the opening and connect the wires to the Positive and Negative terminals.
19) Connect the wires, install the other relay into the relay block, and run wire around tank to the windshield washer pump’s wires.
20) Tap into the to old washer pump wires using supplied splices, the wire with the red stripe in it is connected to the blue wire, the other is connected to the black. This is to energize the switch relay, (The one that turns this kit "On"), the other relay is a logic type relay, it is the actual relay which connects the power to the pump but the switch relay must have the signal first. Next is the little white wire with the plastic insulated spade connector, this wire needs a 12V signal from your lights, the washers only activate if you have the lights on so you must either use the headlamp 12V power or I used the old wire to the side markers which I had disabled. But it is perfect for the signal. Don't forget to install the fuse.
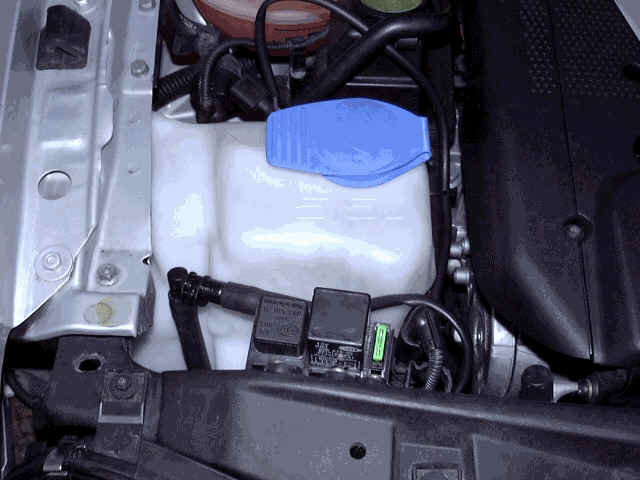
21) Fill tank up with Fluid from container and add more to top off the 5.5 L tank.
22) Install bumper same as removal but in reverse order outlined in my other procedure.
23) Pull up on washer nozzles to install the top plates, these are also L and R so look underneath the plates and look for an L or an R.
24) Turn the lights on and test the system!
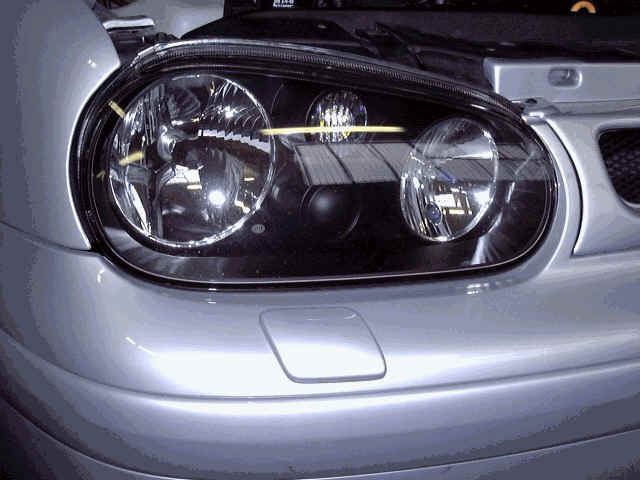
Before:
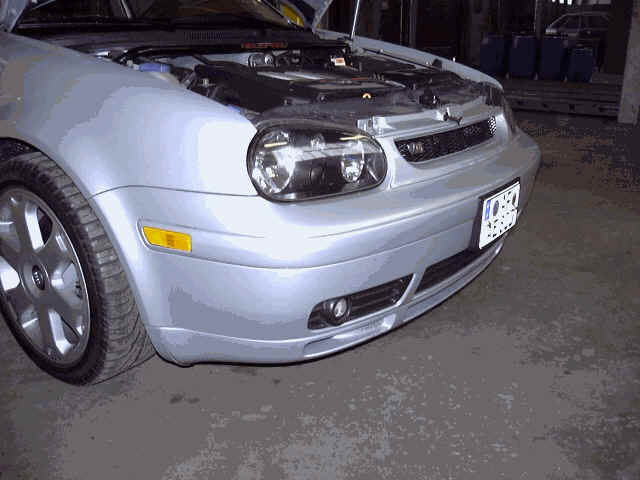
After: